
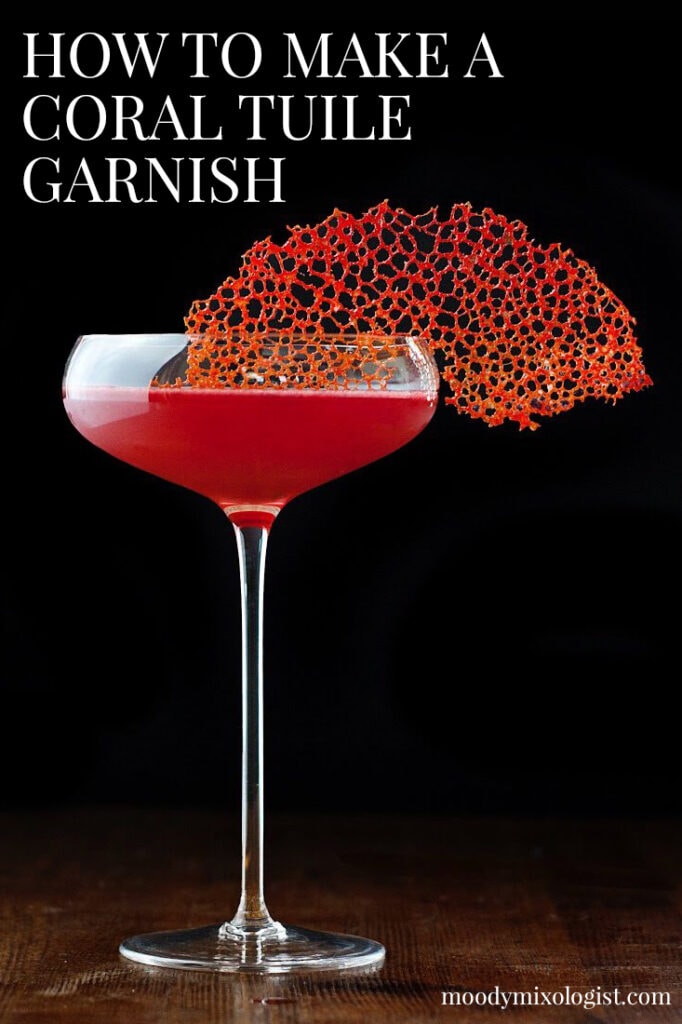
A while back I posted a cocktail (Smoky Beets) featuring a bright red coral tuile cookie garnish, and since then I’ve had a ton of people reach out and ask what the garnish was and how I made it.
Coral tuiles are bit different than classic tile-shaped tuiles, and there is not a lot of information out there about how to make these delicate, pan-fried, hole-filled cookies.

After much trial and error and practicing my technique, I’ve finally finished this tutorial on these tricky cookies and I think I’ve solved the mystery to making perfectly cooked coral tuiles every time.
Turns out, my first attempt looking as nice as it did was complete beginner’s luck!
Learn How to Make Cocktail Garnishes for Beginners
While working on this tutorial, I followed the same recipe I had jotted down when I made them the first time, and the results were initially awful and all over the place.
But with a little experimenting and some patience, I figured out what makes one coral tuile come out perfectly and another a complete failure. So let’s get started!
What you’ll need
Here's a list of the equipment you'll need to gather:
- Frying pan
- Spatula
- Small mixing bowl
- Whisk
- Kitchen scale
- Squeeze bottle (optional, makes it a little easier)
- Splatter shield (optional but a good idea to prevent burns and a mess!)
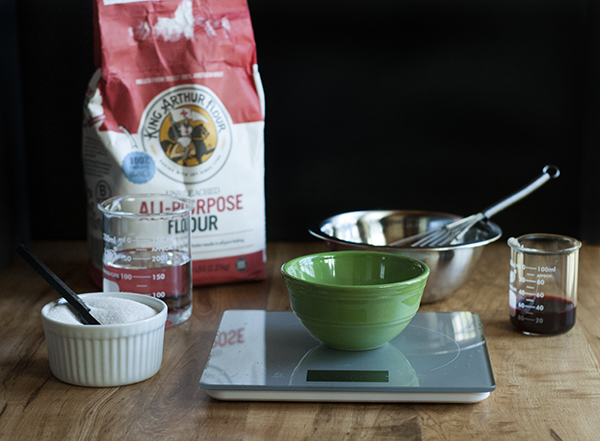
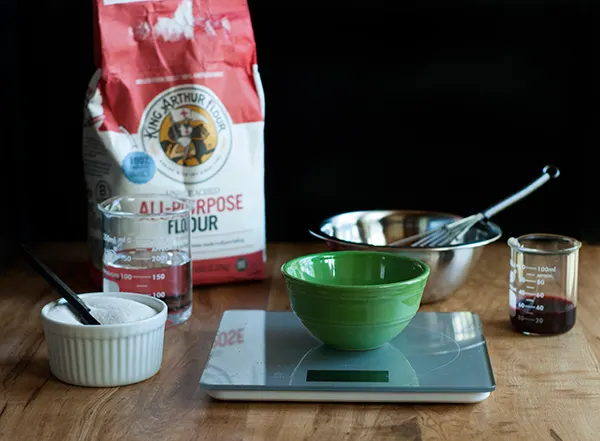
Ingredients:
- High temperature cooking oil (I use refined organic coconut)
- 10g (about 1 heaping tbsp) All purpose flour
- 5g (about 1 heaping tsp) sugar
- 70g water
- 20g beet juice or other liquid to add color (beet juice adds color but not much flavor)
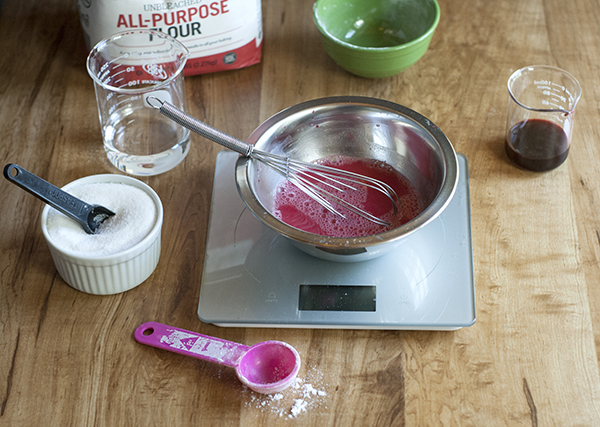
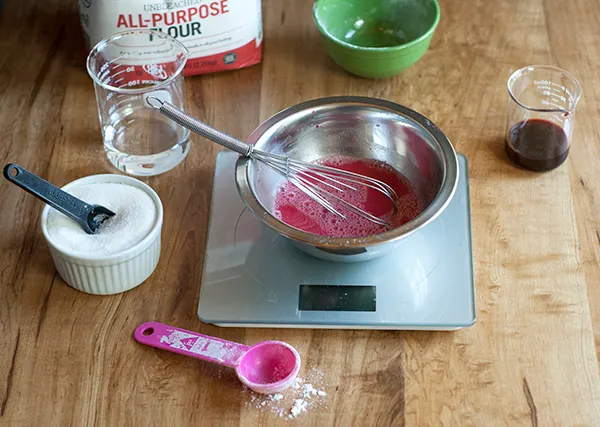
Getting started
The first thing you’ll want to do is measure out your ingredients and whisk until combined.
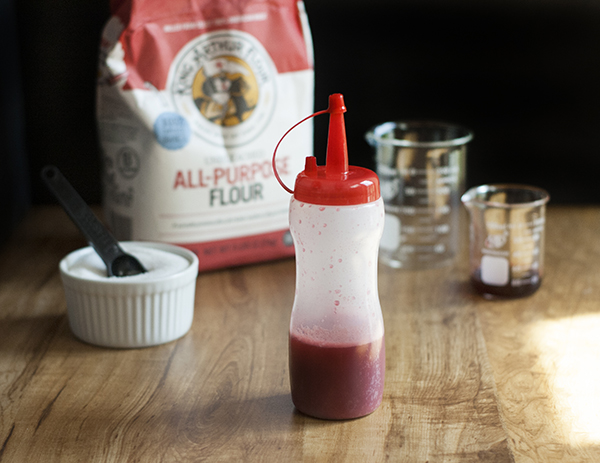
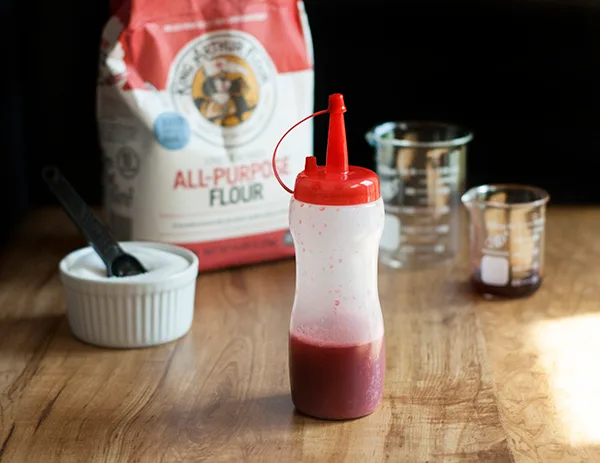
If you’re using a squeeze bottle, pour the mix into the bottle and give it a good shake just before use.
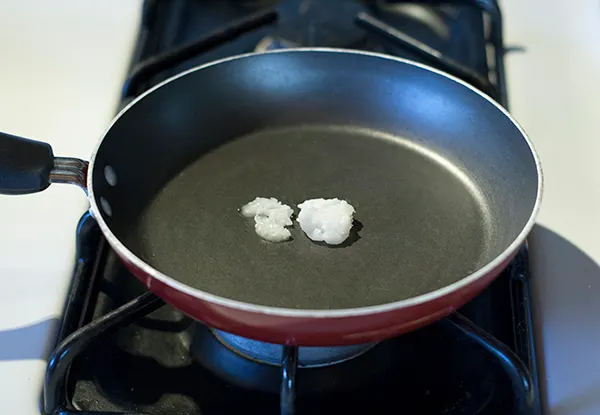
Add a generous amount of cooking oil to your frying pan and set the heat to medium-low. You want enough oil to coat the bottom of the pan, plus a bit more, so that it begins to pool.
I used a small frying pan and I used approximately 2 teaspoon of coconut oil.
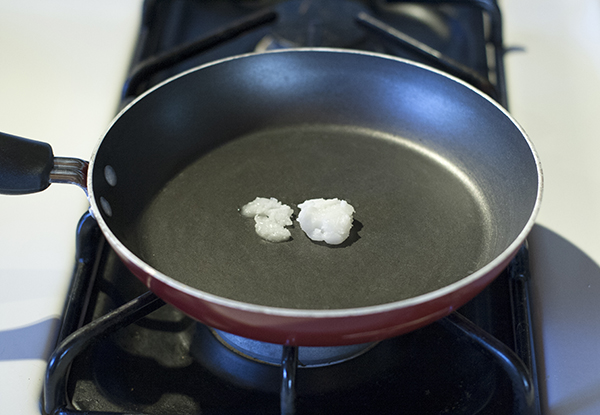
Time to cook up some cookies!
Once the pan is hot, and just before the oil begins to really sizzle, pour (or squeeze) a thin layer of your cookie mix into the pan.
BE CAREFUL! THE OIL WILL SPLATTER. I highly recommend using a mesh splatter shield to avoid getting hit with hot oil.
I pour my cookie mix into the pan and immediately cover it with a splatter shield until the splattering simmers down.

Depending on the general shape and size you want, you can pour in a small circles worth or coat the entire bottom of the pan.
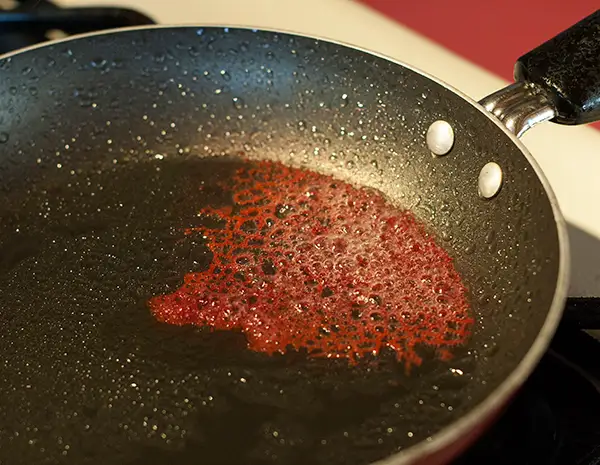
You will see in my photos below that I repeatedly produced a crescent shaped cookie. This is because the pan I was using was not completely flat on the cook surface and the liquid kept pooling to one side of the pan.
Next time I will try another pan to see if I can keep the liquid in the center of the pan to make a nice round cookie.
Watch and wait...
Now you will want to watch and wait. You’ll see that as the mix cooks, the bubbles work their way inward to the center of your cookie and the edges will harden and crisp up.
Once the bubbling has mostly subsided and the cookie appears cooked throughout, turn off the burner and remove the pan from the heat.
There is a bit of finessing required to figure out how much cookie mix to add to the pan to get a thoroughly cooked but not burnt cookie.
Add too much mix and it won’t be able to cook evenly throughout before the edges begin to burn.

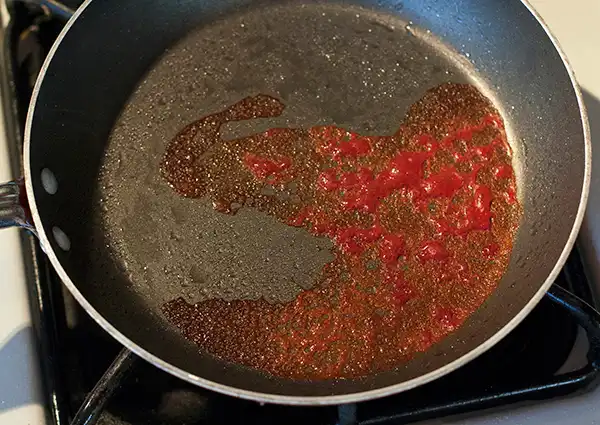
FAIL. Here's an example of what you don't want. Not enough oil in the pan and too much mix pooled in one area has made an unevenly cooked cookie with burnt edges, an uncooked center, and few bubbles (holes).
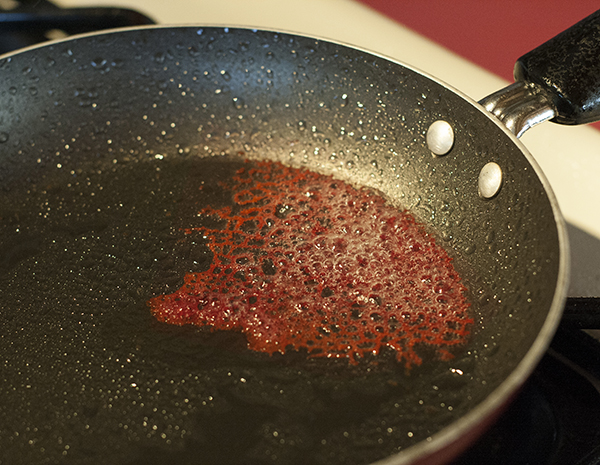
Looking good this time! Note the evenly cooked appearance and plenty of holes / bubbles throughout. Much more oil in the pan this time.

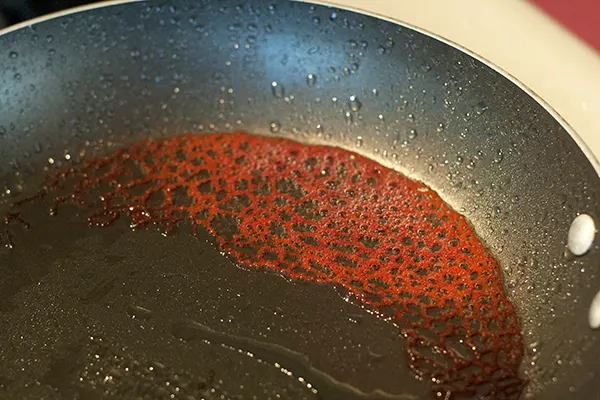
A properly cooked coral tuile with slightly overdone edges.
Handle with care
Allow the cookie to cool down for a few minutes in the pan before you attempt to remove it. Using a spatula, gently scrape up one edge and work your way under the cookie.
It should lift up pretty easily, if not, you need more oil in the pan next time. Transfer the cookie to a cooling rack (or plate) covered with paper towels to remove excess oil.
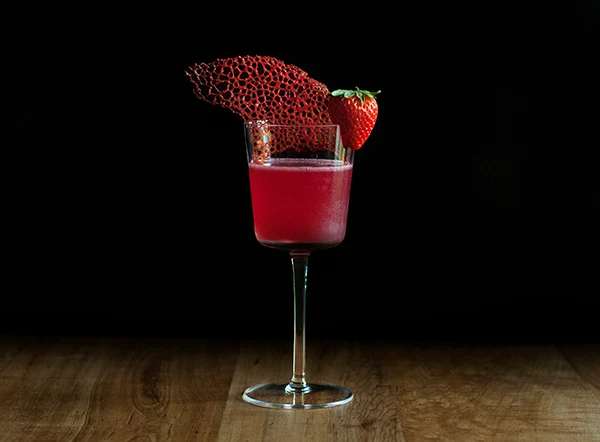
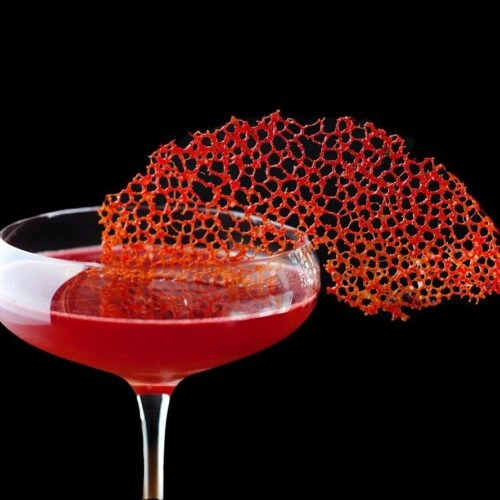
Allow the cookie to cool completely, and then use as a fabulous garnish for a cocktail or dessert!
Because of the many intricate holes in these cookies that give them their unique appearance, they are also EXTREMELY delicate and will break very easily.
The best way to use as a cocktail garnish is to find a glass that the cookie can sit snugly in, you could simply lay it on top of the glass, or you could use it in conjunction with another garnish element that the cookie could stick into.
Want more garnish inspiration? Check out some of my most unhinged cocktail garnishes over the years.
They also look stunning on top of ice cream, on a cake, or in chocolate mousse.
5 tips for coral tuile success
After many attempts and a lot of fails, I finally figured out how to get repeatable results. Here are my top tips for making coral tuiles in a pan.
1. The amount of oil and the temperature of the oil in the pan are critical.
Not enough oil and it will not bubble enough to create the coral hole-y appearance. It will also not come out of the pan easily, which will mean the cookie will tear when you try to remove it.
On the other hand, too much oil and you’ll have one greasy cookie. Also, if the pan is not heated enough, the oil will not bubble.
2. Medium-low heat has worked the best for me. Too hot and the mix burns and smokes instantly, too cool and it doesn’t bubble.
3. Remove from the heat at the first sign of burnt edges - it will continue to cook in the hot pan for a few minutes after you remove it from the heat.
4. Want to make things a little easier? Remove the sugar from the recipe and the color will be a bit brighter and the cookie will cook a bit more slowly / burn less easily. The trade off is that it won’t taste like a delicious little cookie. It won’t taste like much of anything. But it will look pretty!
5. Be super careful handling them once they cool - they become very crisp and brittle!


Strawberry Beet Margarita recipe to enjoy with your tuile!
Ingredients:
- 2 oz tequila blanco
- 1 oz lime juice
- .5 oz Cointreau
- .5 oz strawberry beet syrup*
Add all ingredients to a cocktail shaker with ice and shake until chilled. Strain into a chilled glass and garnish with your beautiful coral tuile and a ripe strawberry.
*Strawberry Beet Syrup
- ½ cup sugar
- ½ cup water
- 6-8 large strawberries, diced
- 2 oz beet juice
Heat sugar and water in a small sauce pan on medium heat. Stir frequently to dissolve sugar. Once sugar has dissolved, add beet juice and strawberries and simmer until the berries begin to break down. Remove from heat and let cool. Once cooled, strain into a jar and store in the fridge.

How to Make Coral Tuile Cookies for Garnishes
Equipment
- 1 Small frying pan
- 1 Small mixing bowl
- 1 Spatula
- 1 Whisk
- 1 Squeeze bottle (optional, but recommended)
- 1 Splatter guard for the pan (optional, but helps control the splatter)
Ingredients
- High temperature cooking oil (I use refined coconut oil)
- 10 g All-purpose flour (about 1 heaping tbsp)
- 5 g Sugar (about 1 heaping tsp)
- 70 g water
- 20 g beet juice (optional, for red color)
Instructions
- Add about 2 teaspoon of oil to your pan and set the burner to medium heat.
- One the oil has melted and is glistening, but not yet sizzling, pour in a small amount of your batter. The volume of batter needed depends on the size tuile you want to create.
- Use a splatter guard over the pan or stand back while the tuile is cooking. The oil will splatter and can burn you. Carefully watch for browning on the edges of the cookie. Once the cookie's edges look done and the center appears firm, remove the pan from the heat and allow the center of the cookie to continue cooking for several more seconds.
- Carefully remove the cookie from the pan with a spatula or butter knife and set on paper towels to asborb excess oil.